This manual provides comprehensive guidance for repairing the Maytag MVWX655DW1 washer, addressing common issues like spinning problems, lid lock malfunctions, and transmission noise. It offers step-by-step solutions, troubleshooting tips, and maintenance advice to ensure optimal performance and extend the appliance’s lifespan. Designed for both DIY enthusiasts and professionals, the guide includes detailed diagrams, parts lists, and safety precautions to help users resolve issues efficiently.
Overview of the Maytag MVWX655DW1 Model
The Maytag MVWX655DW1 is a top-loading washer known for its durability and performance. It features advanced cleaning technology, a robust build, and a reputation for reliability. Designed for heavy-duty use, this model is part of the Bravos series, offering a large capacity, QuietSeries sound package, and IntelliClean controls for efficient laundry care.
Importance of Regular Maintenance and Repair
Regular maintenance and timely repairs are crucial for extending the lifespan of your Maytag MVWX655DW1 washer. Neglecting issues like worn parts or clogged drains can lead to costly breakdowns. By addressing problems early and following the repair manual, you ensure optimal performance, reduce energy consumption, and maintain reliability for years of trouble-free operation.
Structure and Content of the Repair Manual
The manual is organized into clear chapters, covering troubleshooting, repair steps, and maintenance tips. It includes detailed diagrams, error code guides, and parts lists. Each section focuses on specific issues, such as lid locks, transmission problems, and spin cycle malfunctions, providing step-by-step solutions. The content is designed to help users diagnose and fix problems efficiently, ensuring longevity and performance of the appliance.
Common Issues with the Maytag MVWX655DW1
Users frequently report problems such as improper spinning, lid lock malfunctions, transmission noise, and the washer getting stuck in the rinse cycle with flashing lights.
Washer Not Spinning Properly
The Maytag MVWX655DW1 often faces issues where the washer fails to spin effectively, particularly during rinse and spin cycles. This could stem from faulty sensors, a malfunctioning control board, or worn-out mechanical components like the drive hub or belt. If the agitator spins rapidly but the tub doesn’t, it may indicate a disengaged or broken drive system. Regular maintenance, such as checking balance and ensuring proper load size, can help prevent this issue.
Lid Lock Issues and Solutions
If your Maytag MVWX655DW1 washer experiences lid lock issues, it may fail to advance cycles or display error lights. Replacing the lid lock assembly is often the solution. Ensure the control board is functioning properly, as a faulty board can prevent the lid lock from engaging. If issues persist, consider bypassing the lid lock temporarily for troubleshooting purposes.
Transmission Failure and Noise Problems
Transmission failure in the Maytag MVWX655DW1 washer often results in loud noises, vibrations, or complete stopping during operation. Replacing the gearcase and cam assembly is typically necessary. Ensure all internal components are properly lubricated and aligned to prevent further damage. Regular maintenance can help identify worn parts before they cause severe transmission issues.
Stuck in Rinse Cycle and Flashing Lights
If the Maytag MVWX655DW1 gets stuck in the rinse cycle with flashing lights, it indicates a control board issue. Check for error codes to diagnose the problem. Resetting the control board or replacing faulty sensors may resolve the issue. Ensure all connections are secure and test the washer after repairs to confirm proper function.
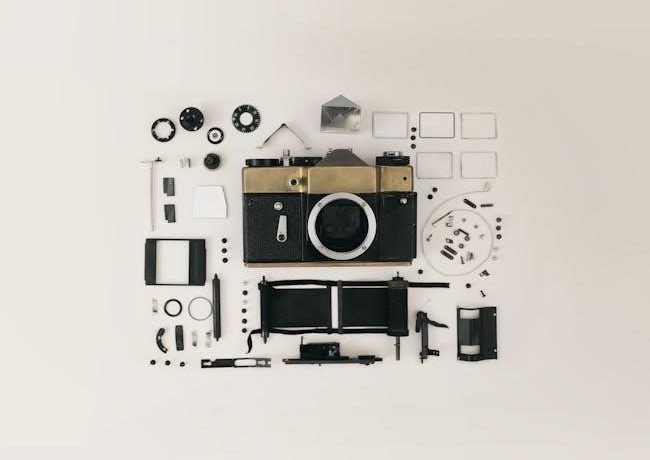
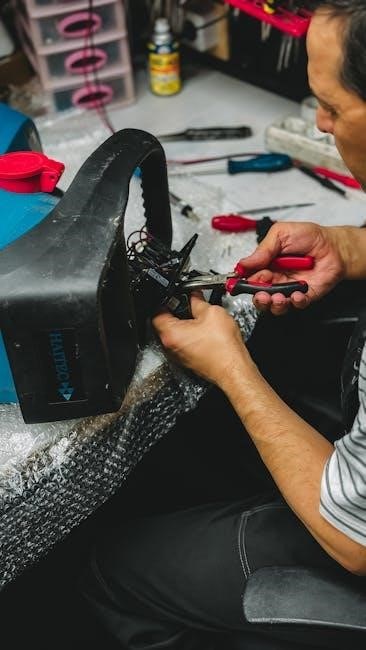
Repair and Replacement Steps
Access the washer’s interior by removing the top panel. Identify faulty parts like lid locks or transmissions. Replace damaged components and ensure proper reassembly. Test the washer after repairs to confirm functionality.
How to Access the Interior of the Washer
Disconnect power and water supply. Remove the top panel by taking out screws at the back. Gently lift the panel to access internal components. For deeper access, detach the control panel and front casing. Use a screwdriver to remove mounting clips. Ensure all connections are secure before reconnecting power. Refer to the manual for detailed diagrams and guidance.
Replacing the Lid Lock Assembly
First, disconnect the power and water supply for safety. Remove the top panel by taking out the screws at the back. Gently lift the panel to access the interior. Locate the lid lock assembly, typically near the lid. Disconnect the wiring harness by pulling apart the connectors without cutting. Remove any clips or screws holding the old assembly in place. Install the new lid lock assembly securely, ensuring it is fastened properly. Reconnect the wiring harness, making sure all connectors are secure. Replace the top panel and reattach it with the screws. Finally, test the washer to ensure the lid lock engages correctly during cycles.
Fixing the Transmission and Gearcase
Disconnect power and water supply before starting. Drain the washer and remove the belt to access the transmission. Take out the screws securing the gearcase and inspect for wear or damage. Replace the gearcase, cam assembly, and any worn parts. Ensure all components are properly aligned and secured. Reassemble in reverse order and test the washer to confirm smooth operation.
Resetting the Control Board
Disconnect power and water supply for safety. Unplug the washer for 30 minutes to reset the control board. Plug it back in and test operation. If issues persist, press and hold the “Start/Stop” and “Power” buttons simultaneously for 10 seconds to reset. Refer to the manual for specific reset procedures if needed.

Diagnostic Tools and Techniques
Use error codes displayed on the control panel to identify issues. Employ a multimeter to check electrical connections and components. Perform visual inspections of belts, hoses, and moving parts. Consult the repair manual for specific diagnostic procedures and troubleshooting guides. Regularly updating your knowledge ensures accurate and efficient repairs.
Using Error Codes for Troubleshooting
Error codes displayed on the Maytag MVWX655DW1 washer, such as “SF” for sensor failure, help identify specific issues. Referencing the repair manual, these codes guide you to the root cause, enabling targeted repairs. Regularly checking and interpreting error codes ensures prompt resolution of problems, minimizing downtime and extending the appliance’s lifespan through effective troubleshooting.
How to Use a Multimeter for Electrical Checks
Set your multimeter to the appropriate voltage range to test electrical components. Check for power supply issues by measuring voltage at key points. Use the continuity test to identify faulty connections or broken circuits. Measure resistance in components like the lid lock assembly to ensure proper function. Always disconnect power before performing tests.
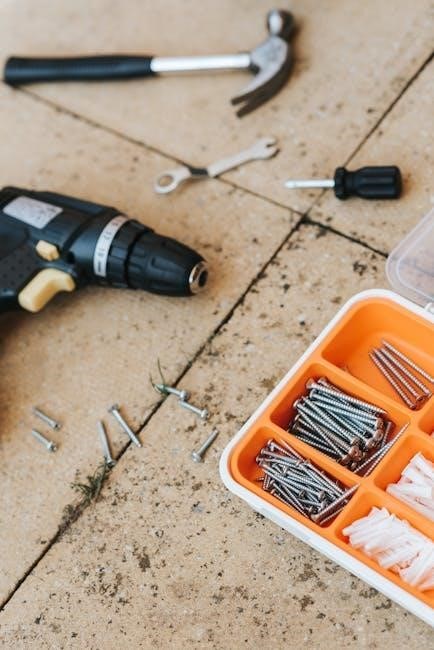
Parts and Tools Needed for Repair
Essential tools include a multimeter, screwdrivers, and pliers. Common replacement parts are the lid lock, transmission, and control board. Refer to the manual for specific parts lists.
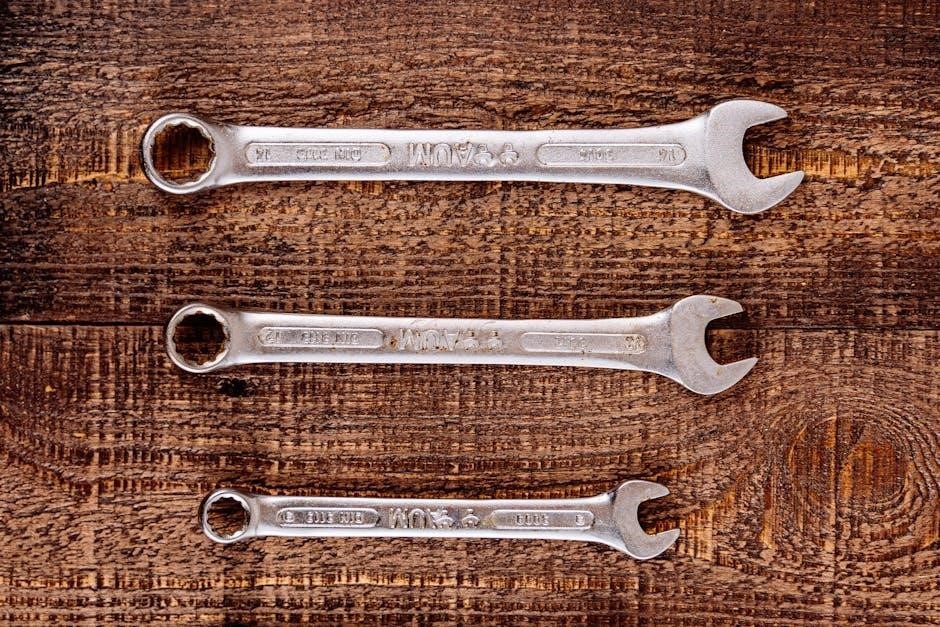
Essential Tools for DIY Repair
For DIY repair, gather a multimeter, screwdrivers (Phillips and flathead), pliers, and a wrench. These tools help with electrical checks, disassembling parts, and securing components. Additional items like gloves and safety goggles are recommended to protect yourself during the process. Ensure all tools are compatible with the specific tasks outlined in the repair manual;
Commonly Replaced Parts
Frequent replacements for the Maytag MVWX655DW1 include the lid lock assembly, transmission, and gearcase. These parts often fail due to wear and tear or mechanical stress. Additionally, the control board and cam assembly may need replacement if issues like stuck cycles or noise arise. Always source genuine parts from authorized dealers or reputable online retailers.

Safety Precautions During Repair
Always disconnect power and water supply before starting repairs. Wear protective gloves and eyewear. Ensure the washer is stable to avoid accidents during disassembly or testing.
Disconnecting Power and Water Supply
Before starting any repair, ensure the washer is unplugged from the power outlet to avoid electric shock. Turn off the water supply valves located behind the washer. Drain the hoses by placing the ends in a bucket. Verify there is no residual water or power to the machine before proceeding with disassembly or repairs.
Protecting Yourself from Injury
Wear protective gloves and safety goggles when handling sharp edges or electrical components. Ensure the washer is stable to prevent tipping. Use proper lifting techniques to avoid strains; Secure loose clothing and jewelry to prevent entanglement. Keep children and pets away during repairs. Always follow safety guidelines to minimize risk of injury or accidents.
Maintenance Tips to Prevent Future Issues
Regularly clean the washer interior and gasket to prevent mold. Check and replace worn belts and hoses. Lubricate moving parts annually. Ensure proper drainage and balance the machine to avoid vibration issues.
Cleaning the Washer Regularly
Regular cleaning prevents mold, mildew, and odors. Run a cleaning cycle with a washer cleaner or vinegar. Leave the lid open after use to dry the interior. Check and clean the gasket and drain pump filter monthly. Remove debris from detergent dispensers to ensure proper flow. Regular maintenance extends the washer’s lifespan and efficiency.
Lubricating Moving Parts
Lubricate the washer’s moving parts to reduce friction and wear. Apply silicone-based lubricant to the transmission, bearings, and pulleys every six months. Avoid over-lubricating to prevent residue buildup. Use OEM-recommended products for compatibility. Regular lubrication enhances performance and prolongs the appliance’s lifespan. Always follow safety guidelines and manufacturer instructions during the process.
Troubleshooting Common Problems
Identify and resolve issues like improper spinning, lid lock malfunctions, and noise problems. Check error codes, inspect components, and ensure proper installation. Refer to the manual for detailed solutions and maintenance tips to prevent future breakdowns.
Identifying the Root Cause of Issues
Start by analyzing symptoms and error codes. Check for worn or damaged parts like the lid lock, transmission, or control board. Ensure proper installation and Leveling. Verify electrical connections and test components with a multimeter; Consult the repair manual for diagnostic procedures to pinpoint the root cause efficiently and effectively for Maytag MVWX655DW1.
When to Call a Professional
If issues persist after DIY troubleshooting or repairs, or if problems involve complex components like the transmission or control board, consider hiring a professional. They possess the expertise and tools to diagnose and fix intricate issues safely and effectively. Always consult the repair manual first, but seek professional help when repairs exceed your skill level or safety concerns arise.
Resources and References
Find the official Maytag MVWX655DW1 repair manual, parts lists, and troubleshooting guides on the Maytag website and reputable sites like Fix.com for comprehensive support.
Where to Find the Official Repair Manual
The official Maytag MVWX655DW1 repair manual can be found on the Maytag website or through authorized dealers. Visit Fix.com or search for the model number to access the manual, which includes detailed diagrams and troubleshooting guides. Ensure you download the correct version for your specific model to get accurate repair instructions.
Online Communities and Forums for Support
Join online forums like Reddit’s r/ApplianceRepair or ApplianceBlog.com to connect with experts and DIY enthusiasts. These platforms offer valuable troubleshooting tips, DIY guides, and real-life experiences for repairing the Maytag MVWX655DW1. Active communities provide reliable solutions, helping you resolve issues efficiently and effectively with advice from experienced technicians and homeowners who’ve faced similar challenges.
This manual empowers you to diagnose and repair issues confidently. With detailed guidance on troubleshooting and maintenance, you’ll extend your washer’s lifespan and ensure optimal performance effectively.
Final Tips for Successful Repair
Always follow the manual’s instructions precisely and ensure all connections are secure. Test the washer after repairs to confirm issues are resolved. Regularly inspect belts, seals, and moving parts for wear. Keep essential tools and spare parts on hand. If unsure, consult the manual or seek professional help to avoid further damage. Patience and thoroughness are key to successful repairs.
Importance of Following the Manual
Adhering to the repair manual ensures safety, prevents further damage, and guarantees proper diagnostics. It provides specific instructions tailored to the MVWX655DW1 model, reducing trial-and-error risks. Following the manual helps maintain warranty validity and ensures compliance with manufacturer-recommended practices, crucial for long-term reliability and performance of your Maytag washer.
Call to Action
Share your repair experiences and tips for the Maytag MVWX655DW1. Visit our resources page for additional guides and support to enhance your DIY repair journey.
Encouraging Readers to Share Their Experiences
We invite you to share your repair stories and tips for the Maytag MVWX655DW1. Your insights can help others troubleshoot common issues like spinning problems or transmission noise. By contributing, you create a valuable resource for the DIY repair community, fostering collaboration and knowledge exchange among appliance owners and enthusiasts alike.
Invitation to Visit Related Resources
Explore our related resources for comprehensive support with your Maytag MVWX655DW1 repair. Visit Fix.com for genuine parts, detailed manuals, and expert repair guidance. Check out Maytag’s official website for user manuals and troubleshooting tips. These resources will help you resolve issues efficiently and maintain your washer’s performance over time.