Graco pump repair kits are essential for maintaining optimal performance and extending the lifespan of your equipment. They include genuine parts like cylinders‚ seals‚ and O-rings‚ ensuring reliability and durability. Easy to find and designed for compatibility‚ these kits help professionals and DIYers alike restore their pumps efficiently. Regular use of genuine Graco parts guarantees peak functionality and minimizes downtime.
1.1 Overview of Graco Pump Repair Kits
Graco pump repair kits are comprehensive solutions designed to restore and maintain the performance of Graco fluid management equipment. These kits typically include genuine parts such as cylinder kits‚ seals‚ gaskets‚ O-rings‚ and packing kits. They are engineered to ensure compatibility with various Graco pump models‚ including older units‚ making them easily accessible for users. The kits are crafted from durable materials to guarantee reliability and longevity. With options like the ProConnect System and Triax II pump repair kits‚ users can quickly address wear and tear‚ minimizing downtime. Genuine Graco parts ensure optimal functionality and adherence to safety standards‚ providing peace of mind for professionals and DIYers alike.
1.2 Importance of Regular Maintenance and Repair
Regular maintenance and timely repairs are crucial for extending the lifespan of Graco pumps and ensuring seamless operation; Neglecting worn or damaged parts can lead to reduced efficiency‚ increased downtime‚ and costly replacements. By addressing issues early‚ such as replacing seals‚ gaskets‚ and O-rings‚ users can prevent major breakdowns and maintain optimal performance. Daily checks and adherence to maintenance schedules help identify potential problems before they escalate. Proper upkeep not only saves time and money but also ensures safety‚ preventing accidents related to equipment failure. Regular maintenance is key to maximizing the value and reliability of Graco pumps in professional and industrial settings.
Preparation for Repair
Preparation is vital for a successful repair. Start by gathering tools‚ genuine Graco parts‚ and a clean workspace. Follow safety guidelines to ensure a safe process.
2.1 Safety Precautions Before Starting the Repair
Before starting the repair‚ ensure all equipment is turned off and follow the Pressure Relief Procedure to release any remaining pressure. Wear protective gear‚ including gloves and safety goggles‚ to prevent injury. Clear the workspace of flammable materials and ensure good ventilation. Avoid working in explosive atmospheres or near open flames. Double-check that all power sources are disconnected to prevent accidental start-ups. Refer to the user manual for specific safety guidelines related to your Graco pump model. Always prioritize safety to avoid accidents and ensure a smooth repair process.
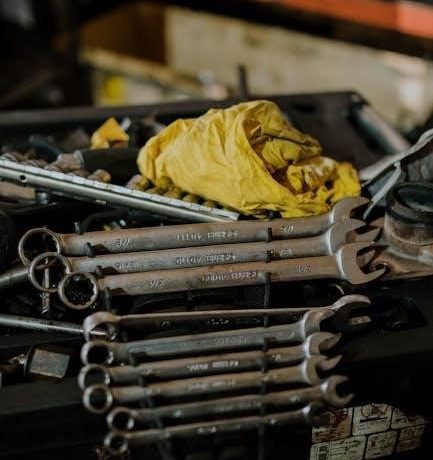
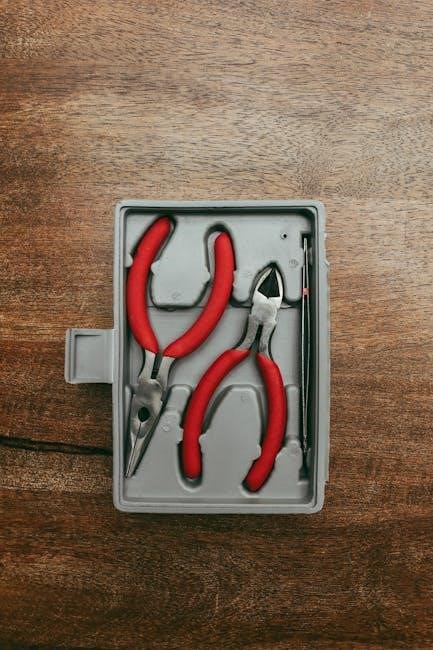
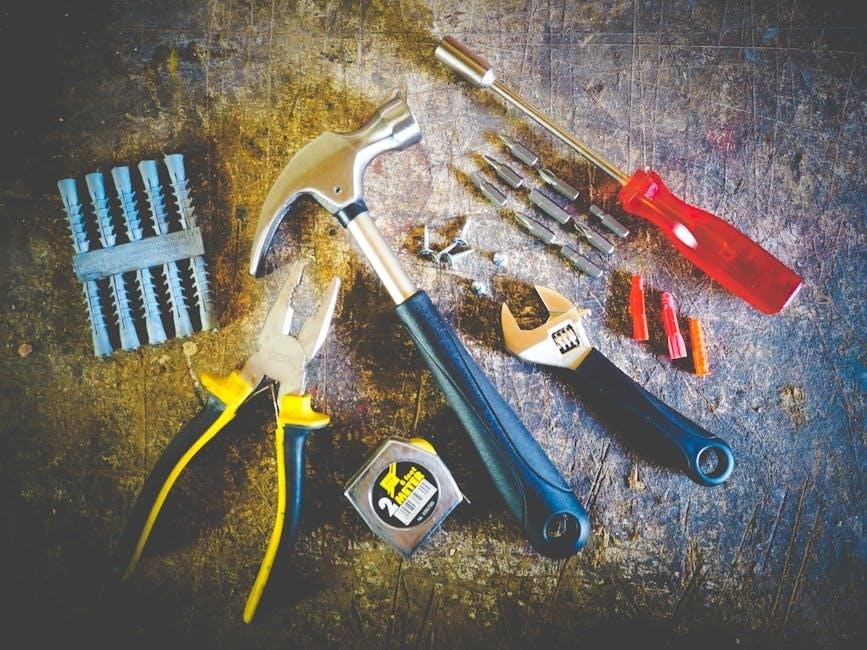
2.2 Tools and Materials Needed for the Repair
To perform the repair‚ gather essential tools and materials. These include wrenches‚ screwdrivers‚ pliers‚ and cleaning supplies like mineral spirits or lacquer thinner. Ensure you have replacement parts from the Graco repair kit‚ such as cylinder kits‚ seals‚ and O-rings. Use genuine Graco parts to maintain optimal performance. Keep rags and a clean workspace handy for organization. Refer to the repair kit’s instructions for specific tools required for your model. Having all materials ready ensures a smooth and efficient repair process. Always follow the manufacturer’s recommendations for tools and replacement parts to avoid compatibility issues.
Identifying Worn or Damaged Parts
Look for common signs of wear‚ such as leaks‚ reduced performance‚ or visible damage. Inspect the cylinder‚ seals‚ and O-rings for cracks or excessive wear. Replace worn components promptly using genuine Graco parts to ensure optimal performance and longevity of your pump.
3.1 Common Signs of Wear in Graco Pump Components
Common signs of wear in Graco pump components include leaks‚ low pressure output‚ and visible damage to seals or O-rings. Look for cracks‚ excessive wear‚ or corrosion on parts like the cylinder kit or packing kits. Reduced performance‚ such as inconsistent spraying or difficulty priming‚ may also indicate worn components. Regular inspections can help identify these issues early‚ preventing further damage. Always refer to genuine Graco repair kits for replacement parts to ensure optimal performance and longevity of your pump.
3.2 How to Inspect the Pump Housing and Seals
To inspect the pump housing and seals‚ start by cleaning the exterior to reveal any visible damage. Check for cracks‚ dents‚ or corrosion that could compromise the housing’s integrity. Next‚ examine the seals and gaskets for signs of wear‚ such as leaks‚ fraying‚ or discoloration. Use a flashlight to inspect hard-to-reach areas. Ensure all connections are tight and free from debris. If you find any damage or wear‚ replace the affected parts using genuine Graco repair kits for optimal performance. Regular inspections help prevent costly repairs and maintain your pump’s efficiency.
Step-by-Step Repair Process
Replace worn components systematically‚ starting with the cylinder kit‚ followed by seals‚ gaskets‚ and O-rings. Lubricate parts‚ reassemble carefully‚ and test the pump to ensure proper function and pressure.
4.1 Replacing the Cylinder Kit
Replacing the cylinder kit is a critical step in restoring your Graco pump’s performance. Begin by disassembling the pump and soaking the components in a solvent like mineral spirits to loosen old paint and debris. Next‚ install the new cylinder kit‚ ensuring all parts are properly lubricated and aligned. Refer to the repair manual for specific instructions‚ as different models may require unique procedures. Kits like the 313532B or 24A813 are designed for specific pump models‚ so verify compatibility before installation. After reassembling‚ test the pump to ensure smooth operation and proper pressure output.
4.2 Replacing the Pump Seals and Gaskets
Replacing pump seals and gaskets is essential to prevent leaks and maintain pressure. Start by cleaning the pump housing thoroughly to ensure a smooth installation. Apply a thin layer of lubricant to the new seals and gaskets before fitting them into place. Use genuine Graco parts‚ such as those included in repair kits like 220586 or 220585‚ to ensure compatibility and performance. Align the seals properly and tighten them securely‚ following the manufacturer’s torque specifications. After installation‚ test the pump under low pressure to check for any leaks before resuming full operation. Properly installed seals will restore efficiency and reliability to your pump.
4.3 Replacing the O-Rings and Packing Kits
Replacing O-rings and packing kits is a critical step in ensuring proper pump function. Begin by removing the old O-rings and packing material‚ taking care not to damage the surrounding surfaces. Inspect the areas for any residue or debris and clean thoroughly. Apply a small amount of lubricant to the new O-rings and packing before installation. Use genuine Graco parts‚ such as those found in kits like 18B260 or 220585‚ to guarantee a perfect fit. Align the parts carefully and tighten them in the recommended sequence. Finally‚ test the pump at low pressure to ensure there are no leaks. Properly installed O-rings and packing will restore the pump’s performance and prevent future issues.
Reassembly and Testing
Reassemble the pump using genuine Graco parts‚ ensuring proper alignment and lubrication of moving components. Test at low pressure to verify functionality and check for leaks.
5.1 Proper Reassembly Techniques
Reassembly requires precision to ensure optimal pump performance. Begin by lubricating all moving parts‚ such as the piston and cylinder‚ using recommended grease. Install components in the correct order‚ aligning them carefully to avoid misplacement. Secure bolts and fittings tightly‚ following torque specifications. Use genuine Graco parts to guarantee compatibility and durability. Pay special attention to seals and gaskets‚ ensuring they are properly seated to prevent leaks. Refer to the repair manual for specific instructions‚ as improper assembly can lead to reduced efficiency or damage. Double-check all connections before testing the pump under low pressure to verify functionality.
5.2 Testing the Pump After Repair
After reassembly‚ test the pump at low pressure to ensure proper function. Gradually increase pressure while monitoring for leaks or unusual noise. Prime the pump if necessary‚ following the manufacturer’s instructions. Check the flow rate and pressure gauge to ensure they meet specifications. Run the pump for several minutes to verify consistent performance. If issues arise‚ inspect connections and seals for any misalignment or damage. Testing confirms the repair’s success and ensures the pump operates safely and efficiently. Always follow Graco’s guidelines for post-repair testing to avoid potential risks and maintain optimal functionality.
Best Practices for Using Graco Repair Kits
Always use genuine Graco parts for optimal performance and longevity. Follow the manufacturer’s instructions closely to ensure proper installation and functionality. Regular maintenance prevents future repairs.
6.1 Using Genuine Graco Parts for Optimal Performance
Using genuine Graco parts ensures your pump operates at its best‚ maintaining reliability and extending its lifespan. These parts are designed to meet exact specifications‚ guaranteeing seamless compatibility and performance. They withstand harsh conditions and reduce the risk of leaks or premature wear. Genuine parts also come with manufacturer warranties‚ offering peace of mind. For consistent‚ high-quality results‚ always choose authentic Graco components for your repairs and maintenance‚ ensuring your equipment remains in peak working order.
6.2 Following Manufacturer Instructions Closely
Adhering to Graco’s instructions ensures safe and effective repairs‚ preventing potential damage to your pump. These guidelines are tailored to the specific design and functionality of Graco equipment‚ minimizing risks and guaranteeing optimal results. By following the step-by-step procedures‚ you avoid common pitfalls‚ such as improper installation or overtightening‚ which can lead to leaks or reduced performance. Additionally‚ adhering to instructions helps maintain warranty coverage and ensures compatibility with genuine parts. Properly executed repairs also enhance safety‚ reducing the risk of accidents during operation. Always refer to the official manual for precise directions tailored to your specific model.
Troubleshooting Common Issues
Common issues like leaks or low pressure often result from improper installation or worn parts. Always use genuine Graco parts and follow manual instructions to resolve problems effectively.
7.1 Diagnosing Leaks After Repair
Leaks after repair can occur due to improper installation or damaged components. Inspect all connections‚ seals‚ and gaskets for tightness and integrity. Check for worn or misaligned parts‚ especially around the pump housing and valves. Ensure genuine Graco parts are used‚ as they are designed for optimal performance. Refer to the repair kit instructions for torque specifications and proper assembly techniques. If leaks persist‚ consult the troubleshooting guide or contact Graco support for assistance. Regular maintenance and inspections can help prevent future issues and ensure the pump operates efficiently.
7.2 Addressing Low Pressure or Flow Rate Problems
Low pressure or flow rate issues can arise from clogged filters‚ worn piston seals‚ or incorrect tip sizes. Check the filter and clean or replace it if necessary. Inspect the pump’s piston and cylinder for wear‚ and replace them using the repair kit if needed. Ensure the tip size matches the viscosity of the material being sprayed. Refer to Graco’s guidelines for proper tip selection. If problems persist‚ verify that all connections are secure and consult the repair manual for additional troubleshooting steps. Maintaining proper pump maintenance can help restore optimal performance and ensure consistent results. Regular inspections are crucial for preventing such issues.
Regular maintenance and genuine Graco parts ensure optimal pump performance and longevity. Addressing issues promptly prevents costly repairs and extends equipment life for professionals and DIYers alike.
8.1 Importance of Regular Maintenance to Prevent Future Repairs
Regular maintenance is crucial for preventing future repairs and ensuring optimal performance of your Graco pump. Daily inspections and addressing worn or damaged parts promptly can significantly reduce downtime and extend equipment lifespan. Neglecting maintenance often leads to costly repairs and operational inefficiencies. By incorporating a routine checkup schedule and using genuine Graco parts‚ you can maintain peak functionality and reliability. Prioritizing maintenance not only saves time and money but also ensures consistent performance for professional and DIY projects alike‚ keeping your equipment in prime condition for years to come.
8.2 Where to Find Additional Resources and Support
For additional resources and support‚ visit Graco’s official website‚ which offers detailed manuals‚ repair guides‚ and troubleshooting tips. Authorized distributors and retailers like SprayDirect also provide genuine parts and expert advice. The ProConnect System and repair kits like 220586 and 220585 are widely available. Customer support teams can assist with specific inquiries‚ ensuring you have the right tools and information. Online forums and technician tutorials further enhance your ability to maintain and repair your Graco pump effectively. These resources ensure you can resolve issues quickly and maintain optimal performance for your equipment.